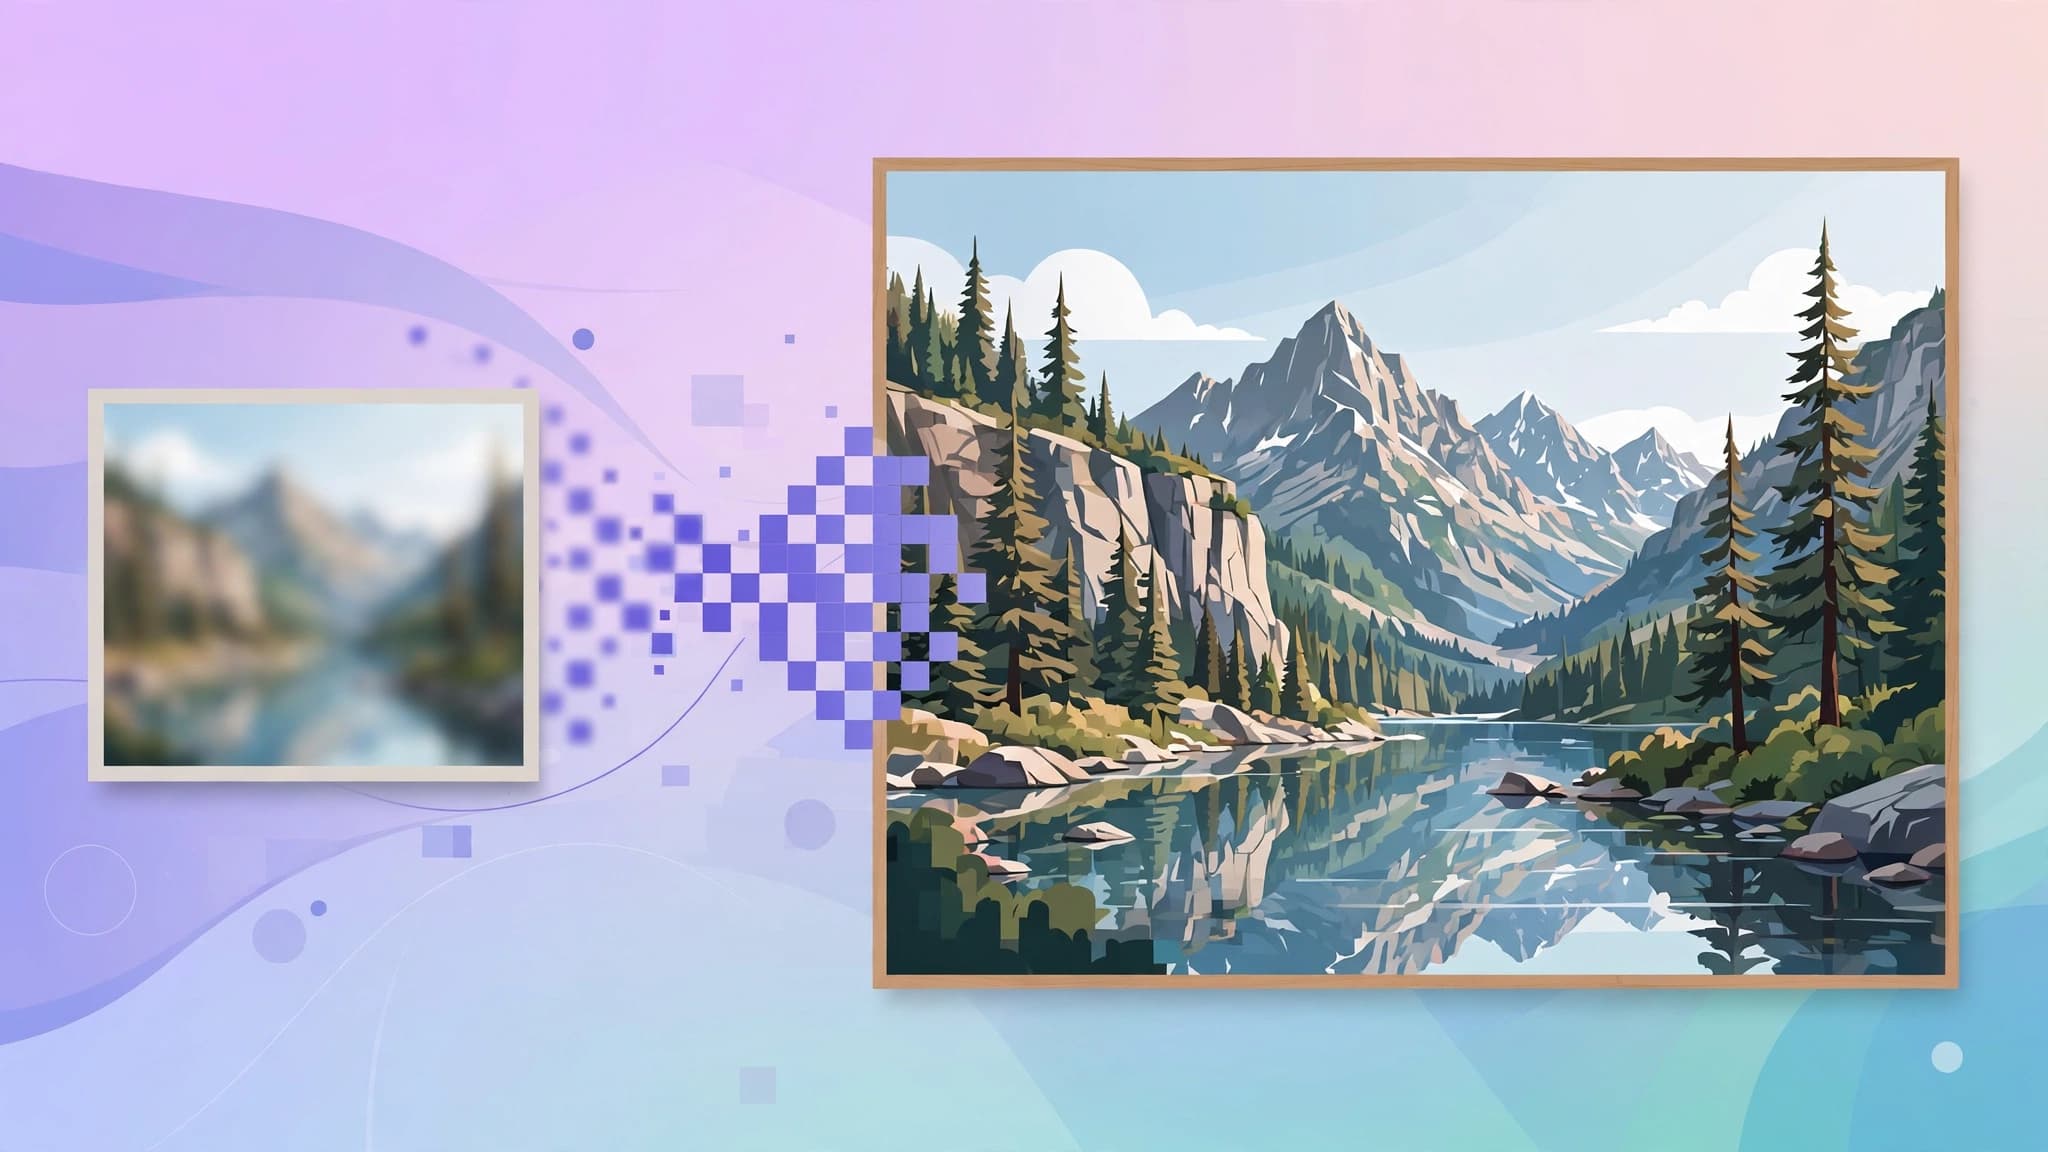
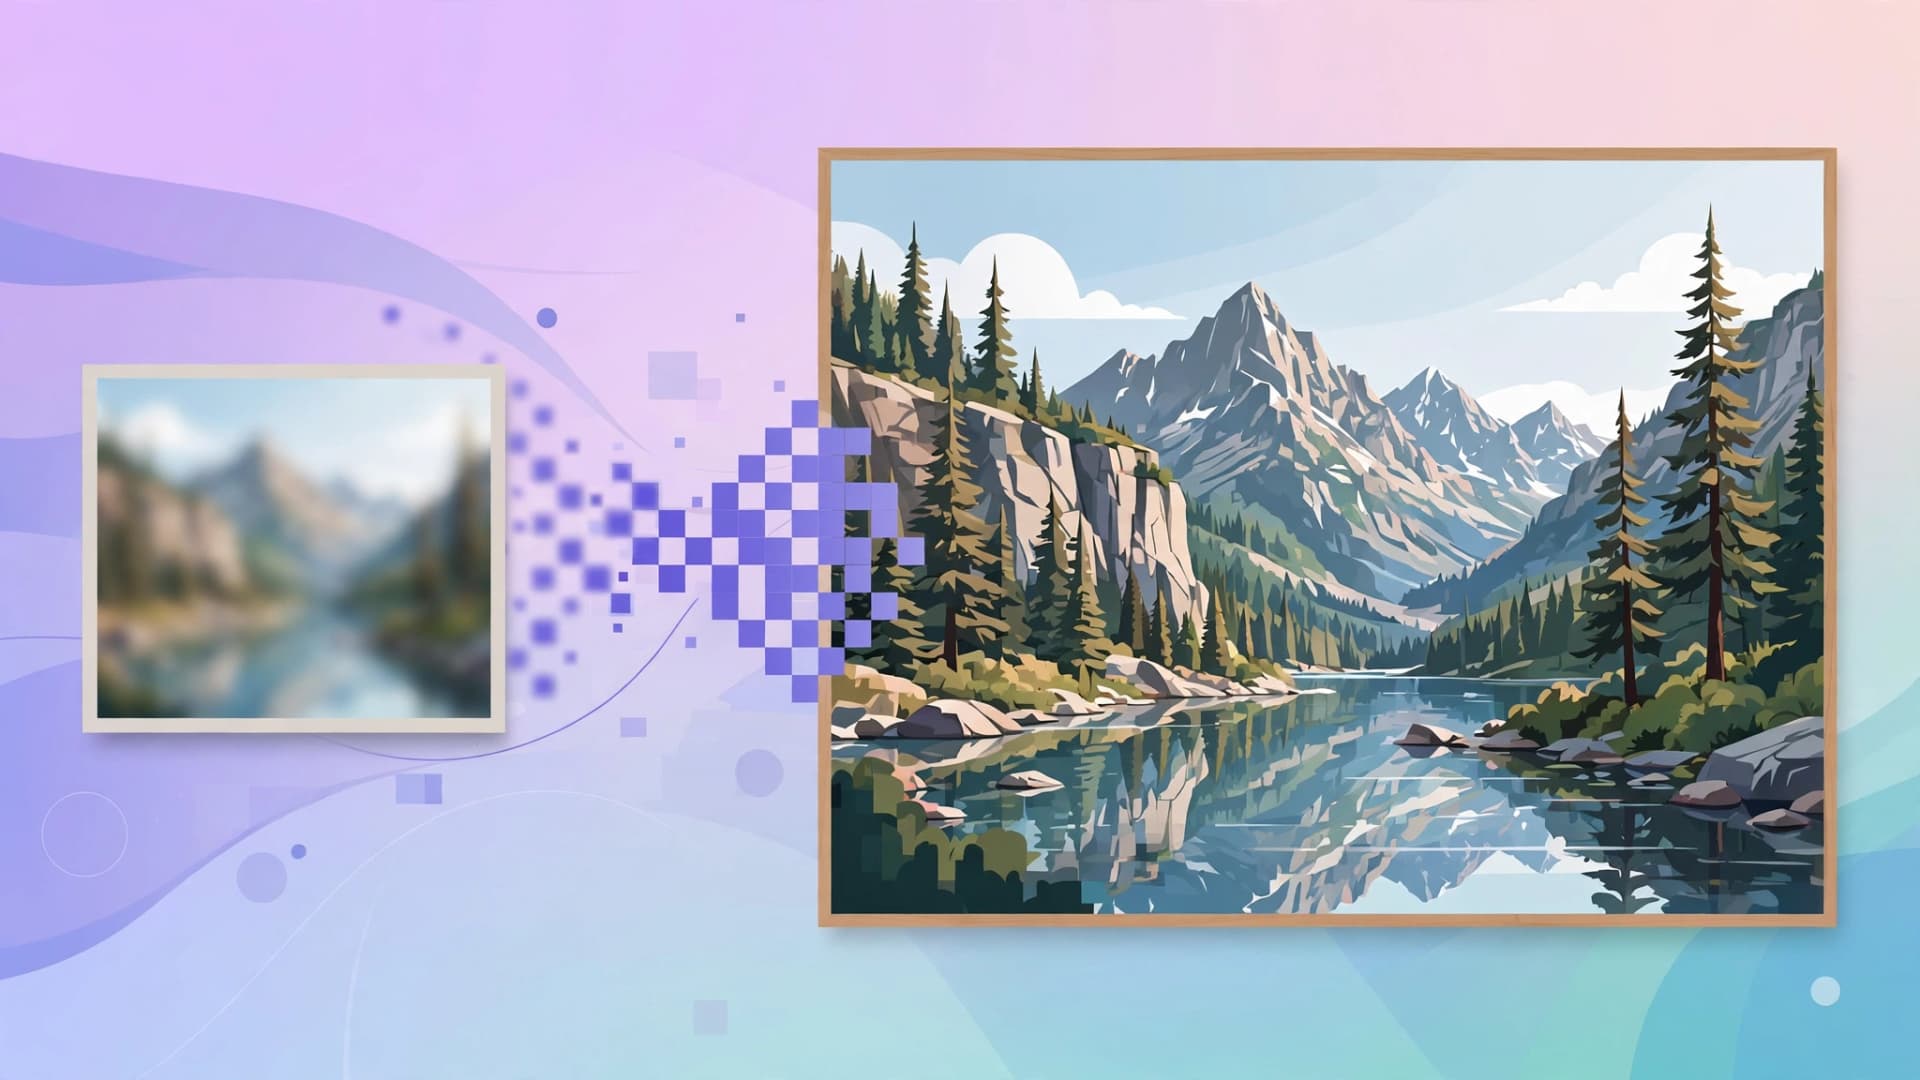
Printing exposes everything a screen forgives. An image that looks crisp at 1200 pixels wide on your phone can turn into a soft, smeared mess on a 16x20 poster. The fix is not just making the file bigger — traditional resizing simply stretches existing pixels. Free AI image upscalers for print quality actually reconstruct detail using trained models, turning small or mid-sized images into files sharp enough to survive ink on paper.
This guide compares the free tools that genuinely work, explains the DPI math printers expect, and walks through a workflow that takes an ordinary digital image to a print-ready file.
What "print quality" actually means
Before choosing a tool, you need the one number that decides everything: the target resolution in pixels, derived from print size and DPI (dots per inch).
- 300 DPI — standard for anything viewed up close: photo prints, art prints, book covers, business cards
- 150 DPI — fine for posters and medium wall art viewed from a few feet away
- 72 DPI — acceptable for large banners and billboards meant to be seen from a distance
The formula is simple: print width in inches times DPI equals required pixels. An 8x10 inch print at 300 DPI needs 2400x3000 pixels. A 16x20 poster at 150 DPI needs 2400x3000 pixels too. A common camera JPEG of 4000x3000 is already fine for 8x10 at 300 DPI, but an old 800x600 scan needs a 4x upscale to hit that same target.
Two warnings before you start. First, always work from the highest-quality original you have — every JPEG re-save permanently discards detail, and upscaling a heavily compressed file mostly magnifies its artifacts. Second, vectors (SVG, AI) beat all of this: if the artwork is a logo or illustration that can be recreated or exported as a vector, do that instead of upscaling a raster copy.
The best free AI image upscalers compared
1. Upscayl — the strongest free option overall
Upscayl is free, open-source, and runs entirely on your machine on Windows, macOS, and Linux. There are no accounts, no queues, and no limits on how many images you process. It ships with several AI models — Real-ESRGAN variants for photos, dedicated models for digital art, and face-focused options — and supports batch processing, which matters when you are preparing a whole series of prints.
Because everything runs locally, your images never leave your computer, which makes it the safest choice for client work and sensitive photos. The trade-off is hardware: a GPU is strongly recommended, since upscaling on integrated graphics can be painfully slow. Upscayl handles up to 8x scaling in a single pass, and it does not add watermarks.
2. Real-ESRGAN (command line) — maximum control for technical users
Real-ESRGAN is the open-source model that powers many of the tools on this list. Running it directly from the command line gives you full control over model choice, tile size, denoising strength, and scale factor — useful when you are tuning output for a specific print job. The standard 4x model is a solid general-purpose choice; for heavy compression damage, the "realesr-general-x4v3" variant cleans noise better.
If you are comfortable with a terminal, this is the most flexible free path to print-quality output. Developers can also batch entire folders with simple scripts.
3. chaiNNer — the GUI for model tinkerers
chaiNNer is a free, open-source node-based GUI for running image models including Real-ESRGAN, ESRGAN variants, and SwinIR. Think of it as a visual pipeline builder: you connect nodes for loading, upscaling, tiling, and saving. It is the best free route if you want to chain operations — say, denoise with one model, upscale with another, then tile-split a huge image for a poster-sized print. It takes an afternoon to learn but rewards print shops and power users.
4. Waifu2x — best free pick for anime and line art
Waifu2x is the veteran of the category and still the best free choice for anime, manga scans, and clean line art. Its noise-reduction-first approach preserves the flat colors and crisp edges of illustrations far better than photo-trained models, which tend to add unwanted texture to cartoon-style artwork. It runs in the browser, so there is nothing to install, and outputs are watermark-free. The free tier tops out around 2x per run, so stack two passes for 4x.
5. Bigjpg — easiest browser option for illustrations
Bigjpg is a straightforward browser upscaler that handles photos and illustrations up to 4x on its free tier. No install, no account, watermark-free output. It is slower than local tools and throttles free users during busy periods, but for the occasional one-off print it is the path of least resistance. Keep inputs reasonably sized, because very large originals hit queue limits.
6. Let's Enhance — quality free trial for one-off prints
Let's Enhance is a paid product, but its free offering is generous enough for occasional prints: a one-time batch of free credits lets you test its dedicated print-focused models, which handle noise and edge contrast especially well on real photography. If you only ever print a handful of images a year, burning these credits on your best shot and running everything else through Upscayl is a sensible split.
7. Upscale.media — a genuinely free monthly plan
Upscale.media stands out among browser upscalers by offering a free-forever tier (a few upscales per month, no credit card) rather than a one-shot trial. The free tier caps output at 2x, which is enough to rescue a 1500-pixel photo into a 3000-pixel one — plenty for a standard 8x10 print. Worth having in your toolkit for quick jobs.
The paid benchmark: Topaz Gigapixel AI
No honest roundup skips Topaz Gigapixel AI. It remains the paid benchmark for print upscaling: purpose-built print models, 6x to 16x output, batch speed, and RAW support. Free tools get close on clean inputs; Topaz pulls ahead on damaged originals and production volume. If you ever outgrow the free tier, this is the upgrade to evaluate first.
Step-by-step: from small image to print-ready file
Step 1: calculate your target pixels
Decide the print size and viewing distance, then multiply inches by DPI. A 12x18 inch poster at 150 DPI needs 1800x2700 pixels. An 8x10 photo print at 300 DPI needs 2400x3000. Write the number down — it tells you the scale factor you need.
Step 2: start from the best source file available
Track down the original. Pull the RAW or highest-resolution export from your camera or design tool rather than the copy you saved for the web. Export PNG or TIFF, not JPEG, before upscaling — every compression cycle you remove is detail the AI does not have to hallucinate.
Step 3: denoise before you upscale
Upscaling multiplies whatever is in the file, including noise and compression blocks. In Upscayl, choose a model with built-in denoising for JPEGs, or run Real-ESRGAN's general variant first. For photos with people in them, a face-aware pass on the small version often produces cleaner results than fixing faces after a 4x upscale.
Step 4: upscale in one clean pass when possible
Stacking multiple small upscales compounds errors. If your source is 800x600 and you need 2400x3000, a single 4x pass (3200x2400, then downsample slightly) beats two 2x passes through different tools. Upscayl's 4x to 8x range makes single-pass workflows practical.
Step 5: check at 100% and sharpen conservatively
Open the result at actual pixels. Look at hair, fabric, text edges, and smooth gradients — these are where AI upscalers either shine or leave artifacts. A light sharpening pass (unsharp mask at 50 to 80 percent) tightens edges for print. Do not over-sharpen: print already adds perceived sharpness through ink gain.
Step 6: set resolution metadata and soft-proof color
Set the file's DPI field (300 in Photoshop or GIMP's print settings) so the print shop reads the intended size. Convert to the printer's requested color profile — sRGB is usually fine for photo labs; commercial offset printers will ask for a CMYK profile. Ask the shop for a proof on your first large order.
Free versus paid: where the line is
Free upscalers are genuinely enough when your input is a decent original, your scale factor is 4x or less, and your print is a standard size for personal use or a small run. They fall behind when you need heavy damage repair, batch processing of hundreds of files, RAW pipelines, or print sizes beyond 16x20 — that is where Topaz Gigapixel AI and similar paid tools earn their price.
One honest caveat about all AI upscaling: the detail it adds is reconstructed, not recovered. For documentary, archival, or forensic work, keep the original file next to the enhanced version and label the upscale as what it is — an enhancement. Print shops and clients deserve to know.