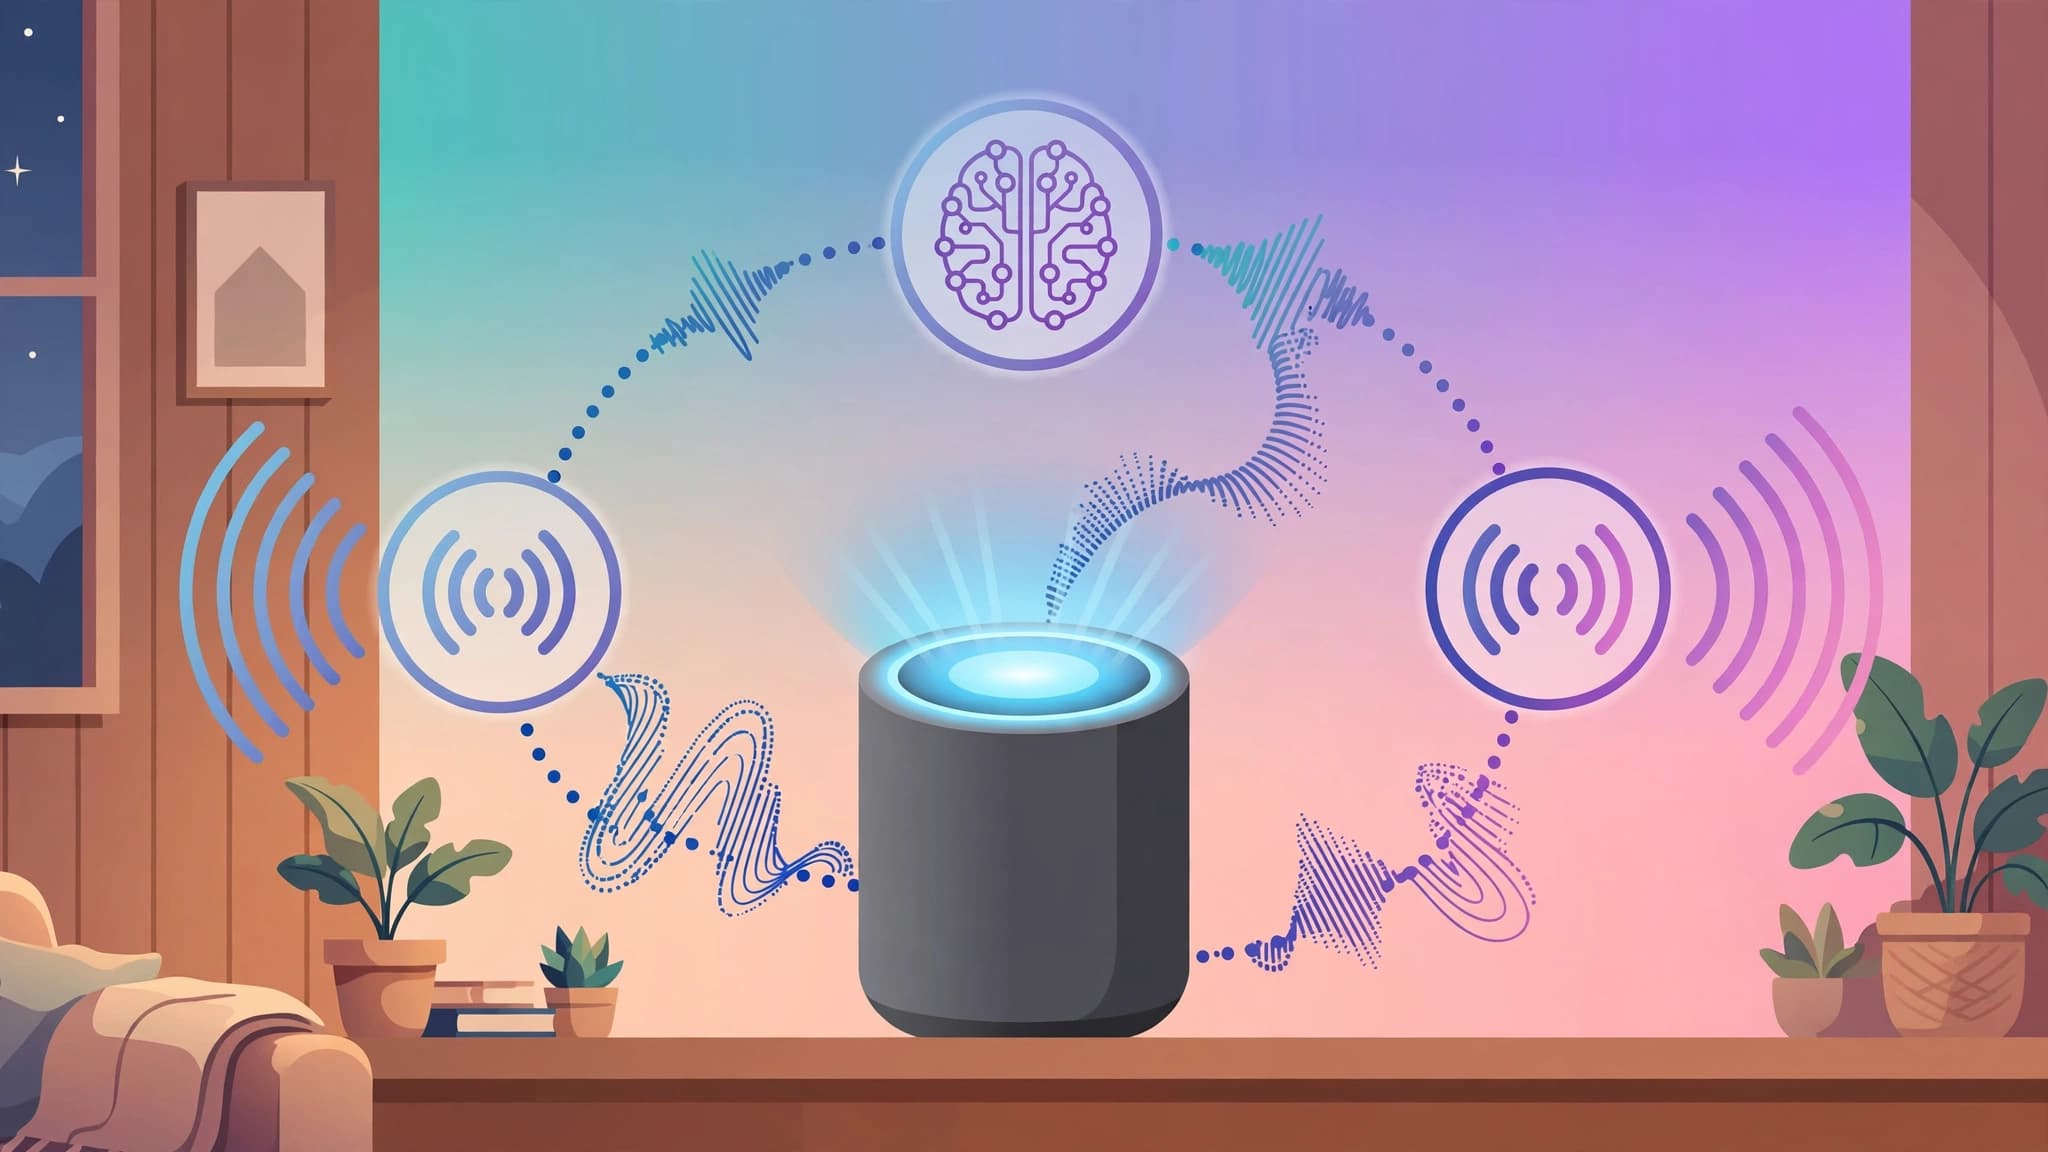
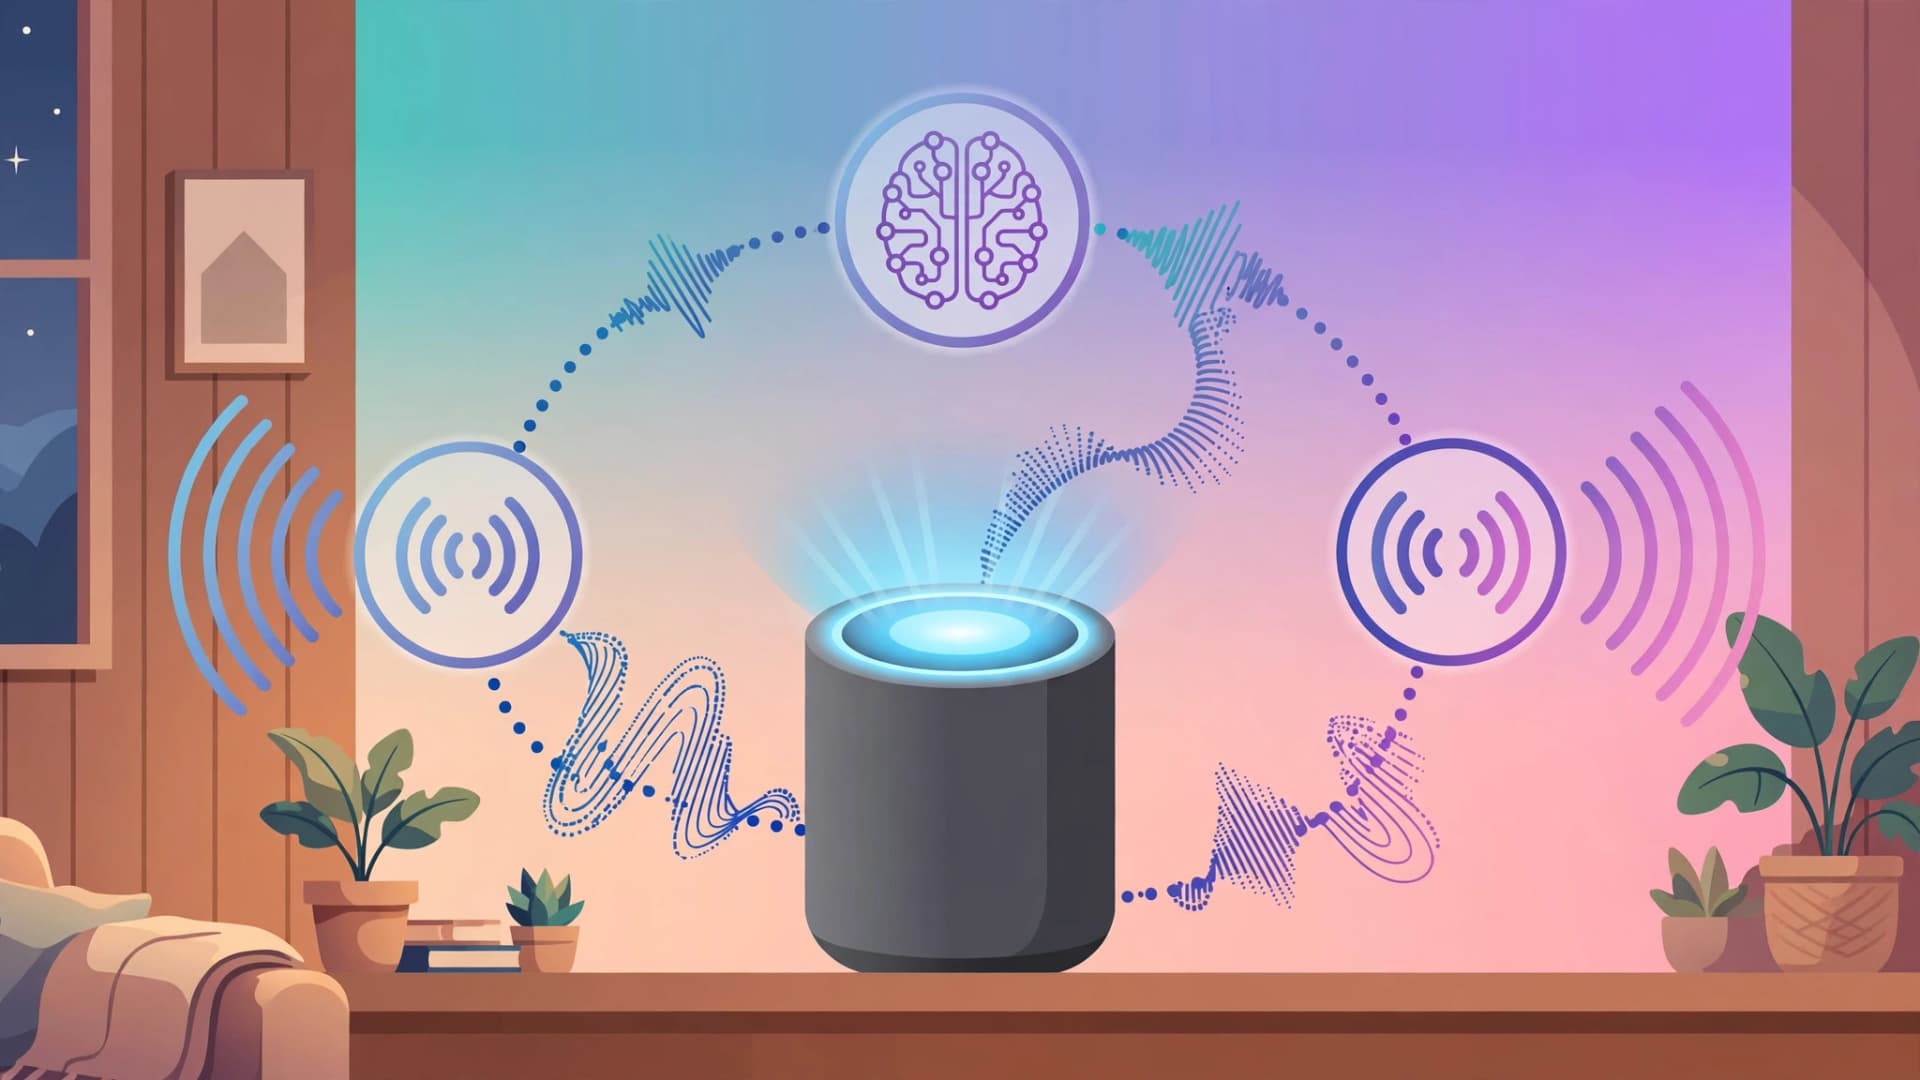
Every time you ask Alexa or Google Assistant a question, your voice travels to a data center you don't control. A local AI voice assistant flips that around: the wake word, the transcription, the thinking, and the reply all run on your own hardware. In 2026 this is a genuine weekend project, not a research paper — open-weight speech models and the Wyoming protocol have made the whole stack swappable and reliable.
The five stages of a local voice pipeline
Whatever route you take, a voice assistant is always the same five stages:
1. Wake word detection — a tiny model listens for "hey jarvis" and ignores everything else.
2. Voice activity detection (VAD) — decides when you start and stop talking.
3. Speech-to-text (STT) — turns your audio into text.
4. The brain — decides what you mean and produces a reply.
5. Text-to-speech (TTS) — reads the reply back aloud.
The glue between them is the Wyoming protocol: a simple JSON-over-TCP convention from the Home Assistant world that lets every stage run as an independent service. If you don't like one stage, swap it without touching the rest.
First decision: commands or conversation?
This one choice changes the whole project. Commands ("turn off the kitchen lights", "what time is it") can be handled by deterministic intent matching with no LLM at all — instant, on almost any hardware. Conversation ("should I take a jacket today?", "summarize my email") needs a local language model, and that's where hardware requirements and latency explode.
Be honest about what you want. Most people build a command assistant that occasionally chats. The good news: you can start command-only and add the LLM later.
Route A: the Home Assistant path (easiest)
Home Assistant Assist gives you a complete voice pipeline with almost no code. Install three services and point Home Assistant at them:
- faster-whisper for speech-to-text (port 10300)
- Piper for text-to-speech (port 10200)
- openWakeWord for wake-word detection (port 10400)
If you run Home Assistant OS, these are one-click add-ons. On any other machine, run them as Docker containers from the official Wyoming images. Then in Home Assistant go to Settings → Devices & Services → Add Integration → Wyoming Protocol, add an entry for each host and port, and select them in Settings → Voice Assistants under your Assist pipeline.
For the conversational brain, install Ollama on a machine with a bit of muscle and choose it as the conversation agent in the same pipeline. Keep "prefer handling commands locally" enabled so simple home-control commands never touch the LLM — they're instant and they keep working when your GPU box is asleep.
A round trip for a command feels instant (around half a second). Conversation on a GPU takes a few seconds; on a CPU-only box a chatty 7B model can take over a minute for one reply, because the model barely fits in RAM. That war story is the reason experienced builders size the LLM to the hardware, not the other way around.
Route B: DIY Python assistant (most flexible)
Prefer your own code? The open-source pattern is well established. You'll need a handful of Python packages:
pip install openwakeword faster-whisper sounddevice piper-tts ollamaThe main loop looks like this:
- openWakeWord runs in a tight audio loop on cheap CPU. It only listens for your wake phrase — "hey jarvis" ships with a pretrained model — and everything else never leaves the microphone buffer.
- Once woken, webrtcvad (or the more accurate silero-vad) records until it detects silence, so you're not transcribing dead air.
- faster-whisper transcribes the captured audio. On a GPU, a short command transcribes in roughly 150 milliseconds.
- The text goes to your brain: plain Python intent matching for commands, or an Ollama model for conversation.
- The reply goes to Piper, which synthesizes natural-sounding speech and plays it through your speakers.
Each piece runs in its own thread or service, because the audio callback, the transcriber, and the LLM are all blocking native code. That's a deliberate design, not a limitation.
Sizing speech-to-text without pain
STT is the easiest stage to get right if you size the model to your hardware:
- CPU-only machine: faster-whisper "base" with int8 quantization. Accurate enough for command recognition and quick on anything made in the last decade.
- Machine with a GPU: "small" or "medium" for noticeably better accuracy on names, accents, and noisy rooms.
- Large-v3 is reserved for multilingual setups and unusual proper nouns — overkill for a kitchen assistant.
Whisper takes several seconds per command on a Raspberry Pi 4, so on constrained hardware consider Speech-to-Phrase for fixed command sets, which responds in under a second on a Pi. On an Intel NUC or better, Whisper's "base" model is the sweet spot: under a second with good accuracy.
Picking a voice: Piper and its alternatives
Piper is the standard local TTS engine: fast, high quality, and free, with dozens of voice models in many languages. Download a voice (the popular "amy medium" is a good starting voice), point the Piper Wyoming service at the model file, and you're done.
One caveat: Piper was archived on GitHub in October 2025. The code still works and the Home Assistant add-on still ships, but it won't get new features. For new projects, evaluate Kokoro TTS or Coqui XTTS as alternatives — both run locally and sound excellent.
The LLM brain: small models win for voice
For a voice assistant, latency matters more than brilliance. The 2026 community consensus favors small, tool-calling-capable models served by Ollama:
- llama3.2:3b, qwen3:4b, or gemma3:4b on 16 GB of RAM — the best response times on consumer hardware.
- Qwen3 30B if you have a 24 GB GPU and want stronger tool calling.
- home-llm's tiny fine-tuned models if your brain has to live on a Raspberry Pi.
Whatever you pick must support tool calling, because the LLM needs to invoke Home Assistant services ("turn on the porch light" only works if the model can call the action). Avoid reasoning "think-mode" models — their long internal monologues make voice feel broken.
A practical rule of thumb from real builds: commands should respond in under a second, conversation in a few seconds. If you're waiting 6–16 seconds per answer on a CPU-only box, your model is too big for your hardware. Shrink the model or move Ollama to a GPU machine on your network.
Hardware: what you actually need
Don't overbuy. Match the hardware to the route:
- Command-only in one room: a Raspberry Pi 5 with a USB microphone, or an old laptop. Under $100.
- Whole house, command-only: three rooms for under $200 — ESP32-based voice satellites or the ~$60 Home Assistant Voice Preview Edition puck, which does on-device wake word and has a physical mute switch.
- Conversational everywhere: add one GPU box (or a used Mac with Apple Silicon, where Ollama is remarkably fast) to host the LLM. The satellites stay cheap because they only stream audio.
Start with what you have. A laptop running the Home Assistant pipeline is a perfectly good proof of concept before you spend anything.
Verifying it actually stays local
"Fully local" is a claim you should test, not a label you should trust:
1. Disconnect your internet and talk to it. Commands and local-LLM answers should keep working.
2. Watch your network traffic with tcpdump during a voice command — nothing should leave your LAN.
3. Remember the one real leak: if your conversation agent ever points at a cloud LLM, your transcripts go with it. Keep the cloud option off and the local Ollama entry selected.
The hardware mute switch on purpose-built pucks exists for the same reason wake-word processing is local: when the device is muted, no audio is captured at all.
A starter build you can finish this weekend
Here's the minimum viable version of Route A:
1. Install Home Assistant on a spare machine or VM.
2. Add the Whisper, Piper, and openWakeWord add-ons (or Docker equivalents).
3. Register them via the Wyoming integration at ports 10300, 10200, and 10400.
4. Create an Assist pipeline pointing at all three.
5. Test from the Home Assistant app's microphone button — no extra hardware needed.
6. Add Ollama as the conversation agent only after the command pipeline works.
You'll end the weekend with an assistant that controls your home and never sends a byte of your voice to anyone else. The conversation upgrade can wait for the following weekend — and now you know exactly which knob to turn first.