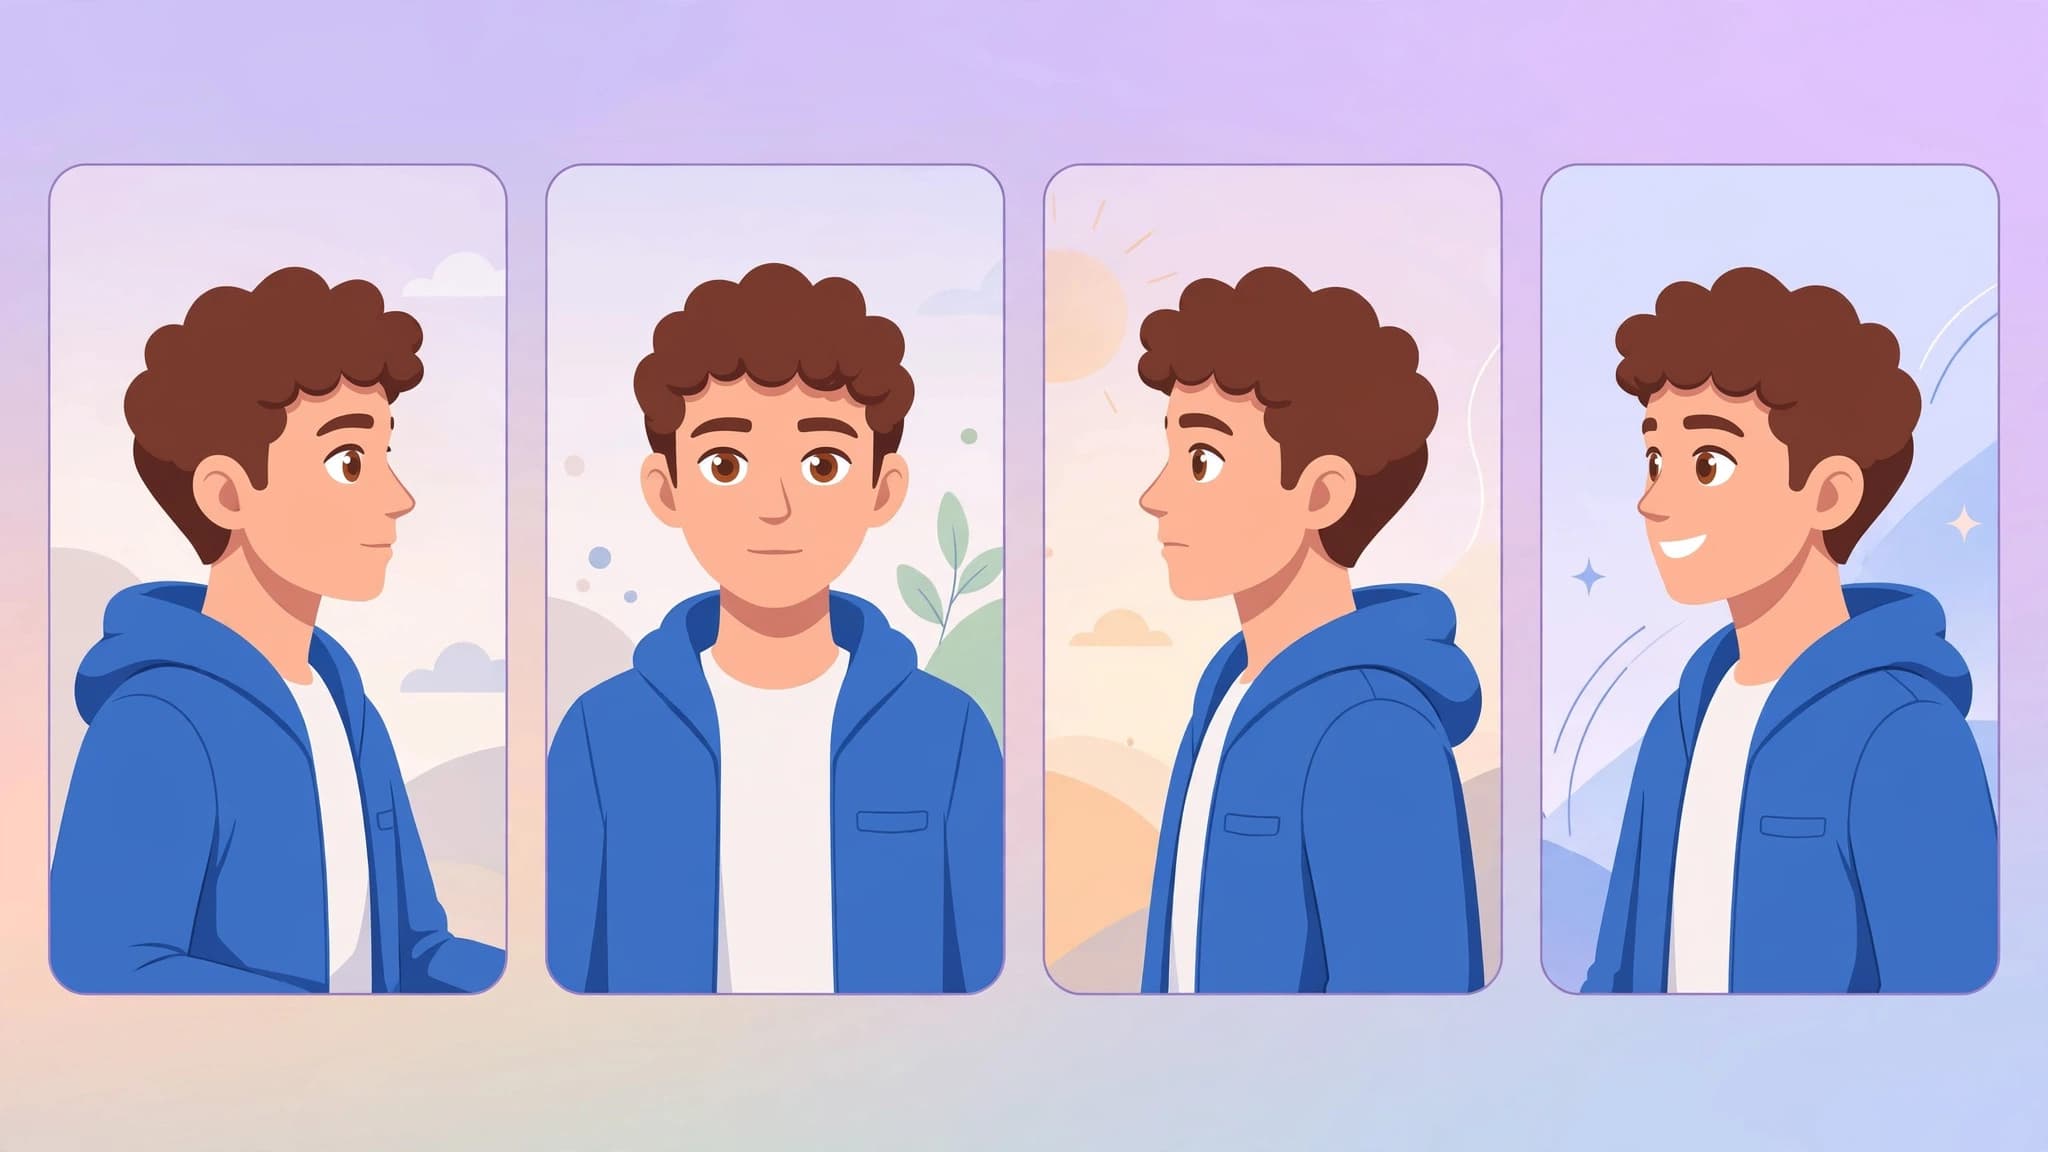
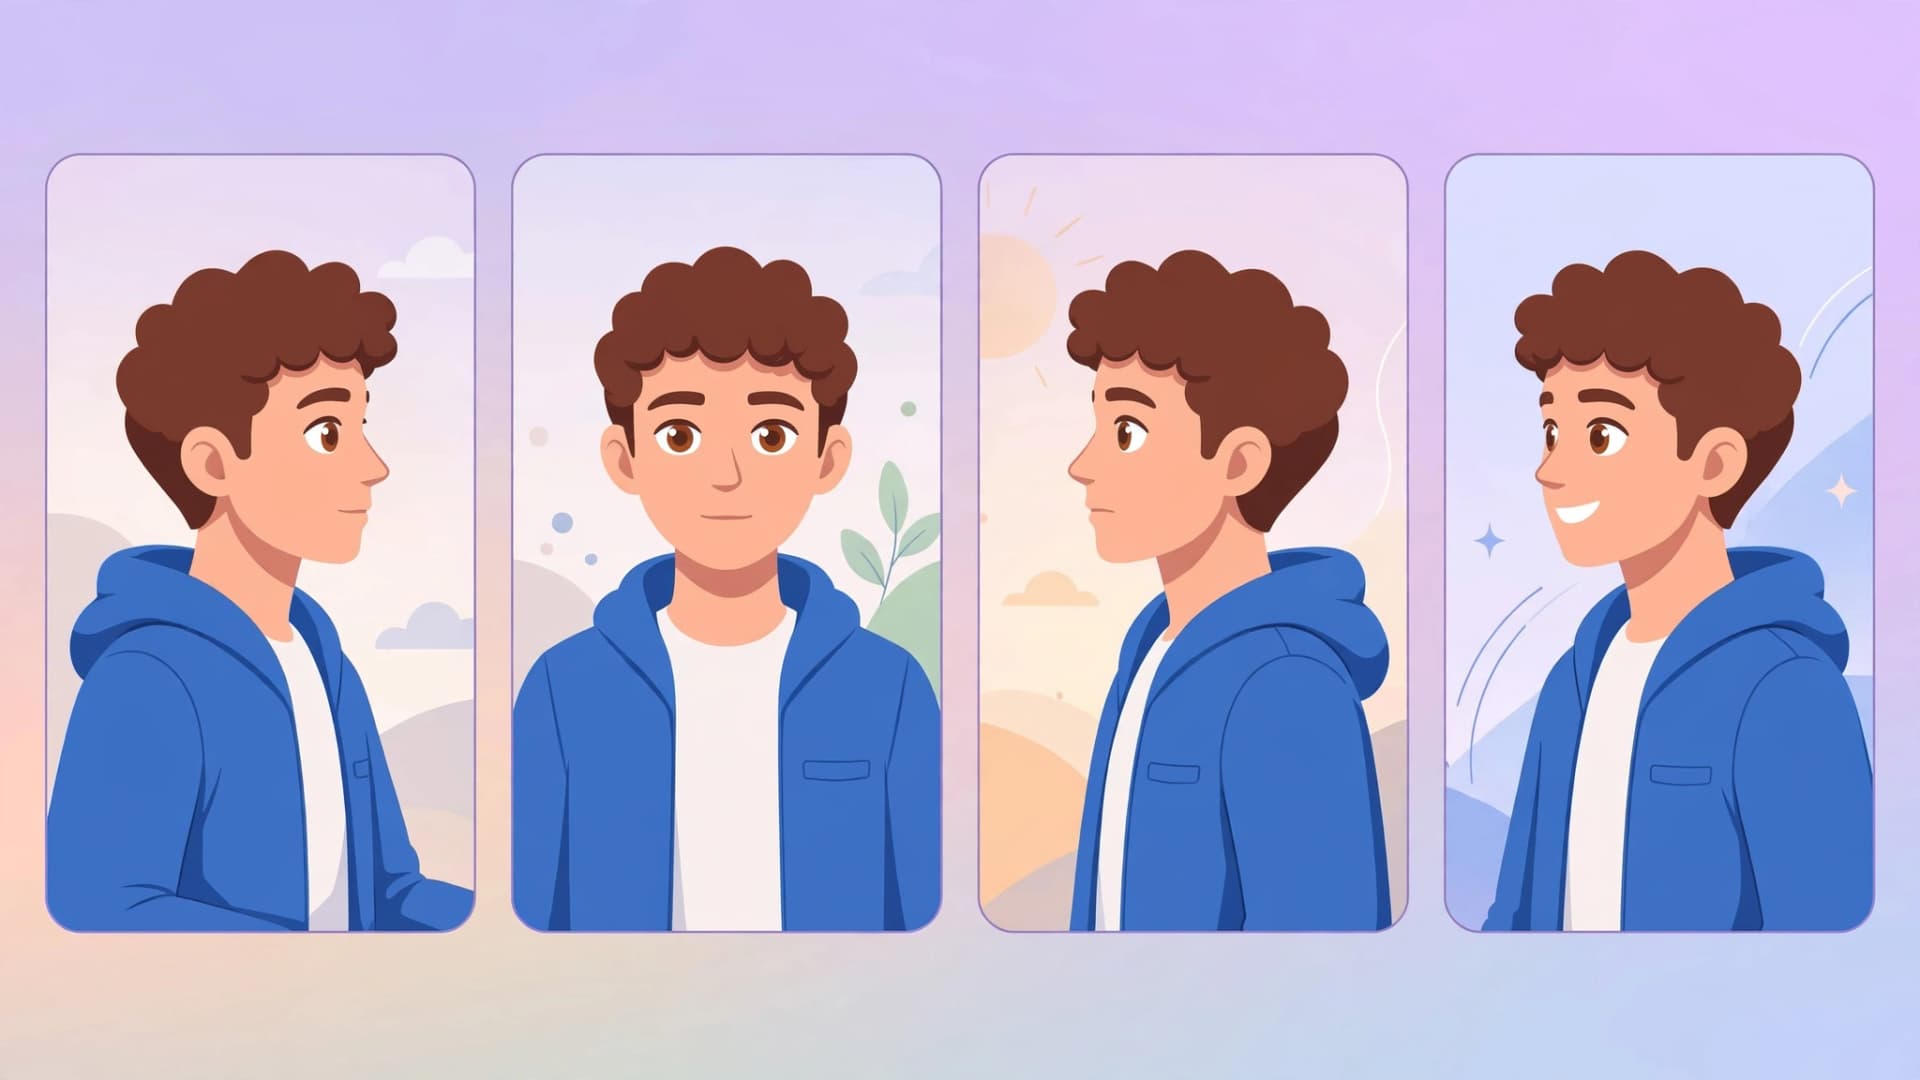
The hardest part of AI video is not generating a good clip — it is generating ten good clips where the same character looks like the same person in every one. Faces morph, outfits change colour, hairstyles drift. This guide gives you a practical, repeatable workflow that keeps your character on-model from the first scene to the last, using tools that exist right now: Midjourney for identity-locked reference images and Kling for reference-locked video.
Why characters drift (and the principle that fixes it)
AI video models are probabilistic. Give the same text prompt twice and you get two different faces, because the model has no memory of the previous generation. The fix is one principle: never describe your character with words alone — always attach a visual reference. Text tells the model what kind of thing to draw; a reference image tells it exactly who. Every technique below is a different way of applying that principle at each stage of the pipeline.
Step 1: Write a character card
Before generating anything, write a short, fixed character card — a text document you reuse verbatim for every generation. Include age, gender, ethnicity, hair (colour, length, style), eyes, skin tone, build, and the exact outfit described item by item: "navy denim jacket, white crew-neck t-shirt, khaki trousers, brown boots". Save it as a text file. When a scene needs the character in different clothing, create a separate card for that costume and never mix cards. Most drift starts with prompt drift: slightly different wording in every prompt. Fix the words first.
Step 2: Generate a reference turnaround sheet
Generate a consistent set of reference images of your character using the fixed card:
1. Start with a front-facing portrait in Midjourney using your full card text.
2. Pick the best result and use Midjourney's character reference parameter, --cref, followed by that image's URL, to generate new angles: a three-quarter view, a profile, and a full-body shot. Keep the same card text in every prompt.
3. Use the character weight parameter --cw to control how strictly the model follows the reference. Higher values lock identity harder but reduce pose and scene freedom; a mid-range value keeps the face locked while letting you change angles and environments. If the character looks like a copy-pasted sticker, your --cw is too high; if the face drifts, it is too low.
4. Save your final 3–5 images as the character pack: front, three-quarter, profile, full-body. Regenerate the pack any time you edit the card — an old pack built from an old card reintroduces drift with extra steps.
For non-Midjourney image models, the equivalent tools are IP-Adapter or PuLID/InstantID face-identity adapters (in ComfyUI or via API providers like fal), fed with your frontal and three-quarter images at an identity weight around 0.6–0.8.
Step 3: Animate with a reference-locked video model
The strongest consistency feature in video generation today is Kling's elements system (Kling v3 / O3). Instead of typing your character into a prompt, you upload them as an element:
1. Create an element from your character pack: one clear frontal image plus 1–3 additional reference angles.
2. Address the character in your prompt with the element tag, e.g. @Element1 walks toward the camera, and keep the motion simple — one main action per clip, static or slow-moving camera.
3. The model locks identity from the element images rather than re-inventing a face from text, which is what holds the character steady through complex motion and changing camera angles.
If you are not using Kling, the fallback is image-to-video: take a consistent still from your character pack, use it as the start frame, and write the prompt around what that character does. The first frame carries the identity; the model's job is only motion. Upscale your stills before animating — a higher-resolution start frame preserves facial detail through the video model's compression.
Step 4: Keep scenes consistent across a whole video
Character reference locks identity within a clip. Across clips you need discipline:
- Reuse the same reference images for every clip. Do not regenerate the character fresh for scene 7.
- Repeat the style layer verbatim. Append the same style descriptors to every prompt: the same lighting, colour grade, lens, and art style. A photorealistic character and a cinematic-painted background in the same scene will read as two different characters.
- Control the camera, not just the character. State the shot type explicitly ("static medium shot", "slow dolly in") in every prompt. Unspecified camera choices are where the model takes liberties that read as inconsistency.
- Design scenes so identity is visible. Keep faces reasonably lit and unobscured in key shots. Heavy backlighting, masks, and extreme angles give the model fewer pixels to work with, and it fills the gap with guesses.
Step 5: Check and fix drift before it compounds
Do not generate all your clips blind. Build a review loop:
1. After each clip, extract a frame and compare it side by side with your reference frontal. Check face, hair, outfit, and proportions.
2. If a clip drifted, regenerate it with a higher reference weight or a simpler prompt — simpler prompts drift less because there is less for the model to interpret.
3. Fix small problems with image editing instead of regenerating whole clips: inpaint tools can correct a wrong accessory or colour without re-rolling the scene.
Which tools to use for each stage
- Identity images: Midjourney (
--cref/--cw) is the most documented route; Flux and SDXL pipelines with PuLID, InstantID, or IP-Adapter are the open-weight alternative. - Video generation: Kling with the elements system gives the strongest identity lock; image-to-video mode on most major generators (Kling, Vidu, Pika, Runway, Luma) works as the general fallback using your start frame.
- Assembly: After generating consistent clips, assemble in any editor (CapCut, Premiere, DaVinci Resolve) and add voiceover and music there — audio is a separate pass, not part of the consistency problem.